Mapping guide
The navigation-system needs to be configured by the user. Only the user has access to the areas and locations where the smart device needs to be able to navigate.
The following steps should be taken when creating a map:
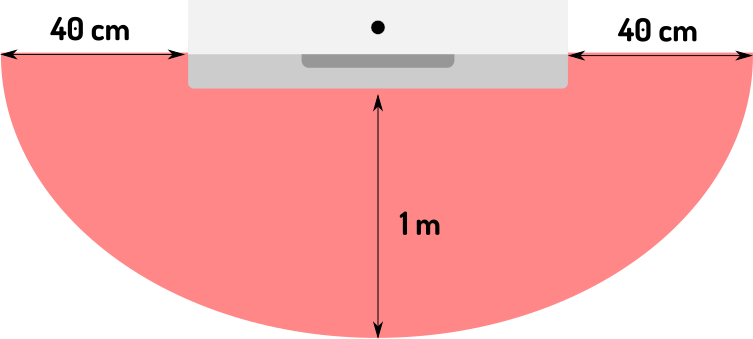
1. Set up the charging station (with enough free space)

For more information on the required setup, see the related manual here
2. Dock the device with the powered charging station and turn it on
3. Connect ZBOS Control to the device and create a new map

| A 'charging station' POI will be added automatically. |
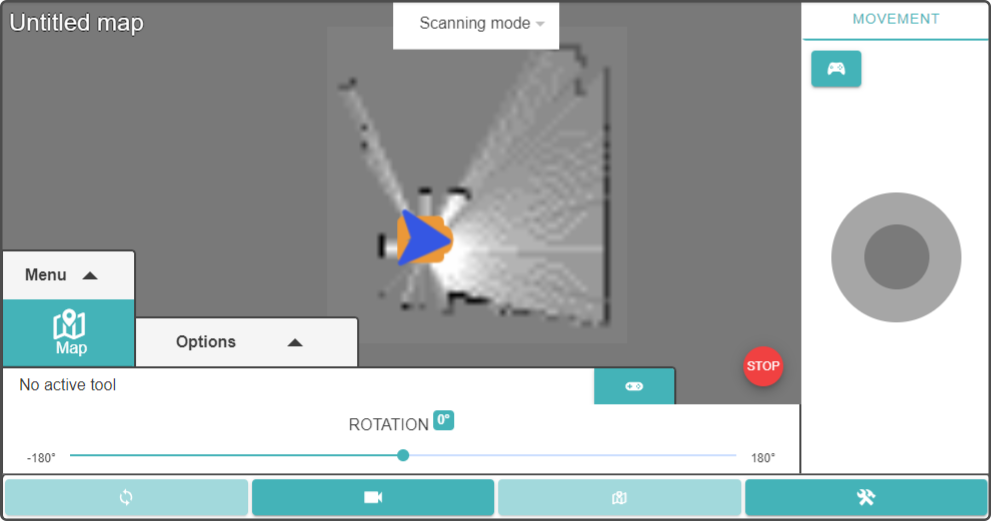
4. Navigate the device around the map
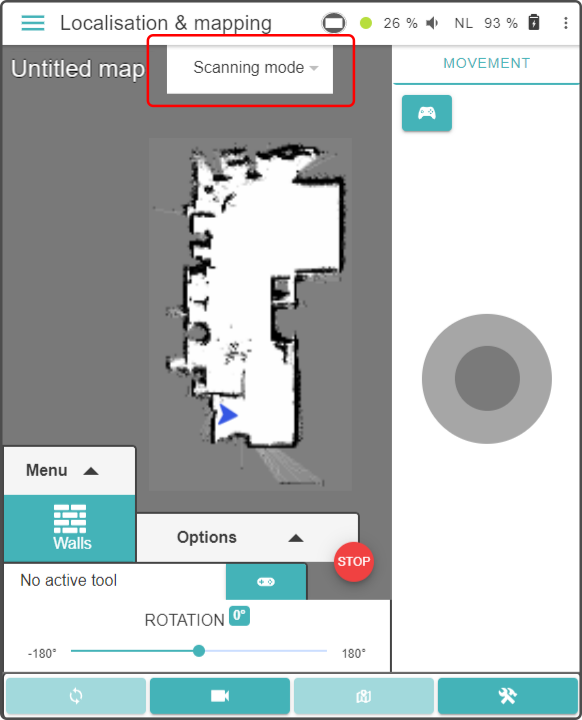
| Make sure the option 'Scanning mode' is selected. |
| Remove any obstacles out of the way before scanning to create a large enough 'clear' area for the device to navigate. |
Move the device using the manual controls in the Localisation-page around the map to gradually fill the map.

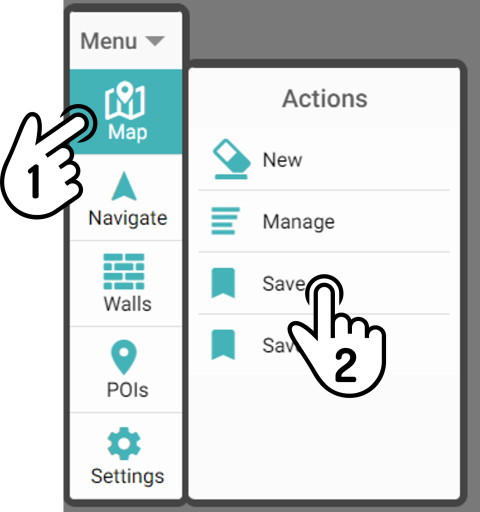
5. Save the map once the map is filled in

| The Navigation mode will now be enabled. |
| It is highly recommended to save a duplicate of the map once the mapping has been completed. |
6. Add the POIs and virtual walls to the map
See the chapters Adding POIs and Adding virtual walls for more information.
7. Save the map again
Save the map again to add the POIs and walls to the stored map.