Initial setup
Once the robot has been connected to the charging station and is charging, the initial setup can be performed.
Push the on/off button on the bottom of Cruzr to disable the safety and hold the power-button on the back of the Cruzr until the LED is lit up to turn Cruzr on.
Once the robot has been turned on for the first time, the initial setup will start. This setup contains the following steps:
-
Selecting a language for the setup
-
Setting up the wifi (optional)
Language Selection
The first step is to select the language the robot will use. By default English, French and Dutch are available.
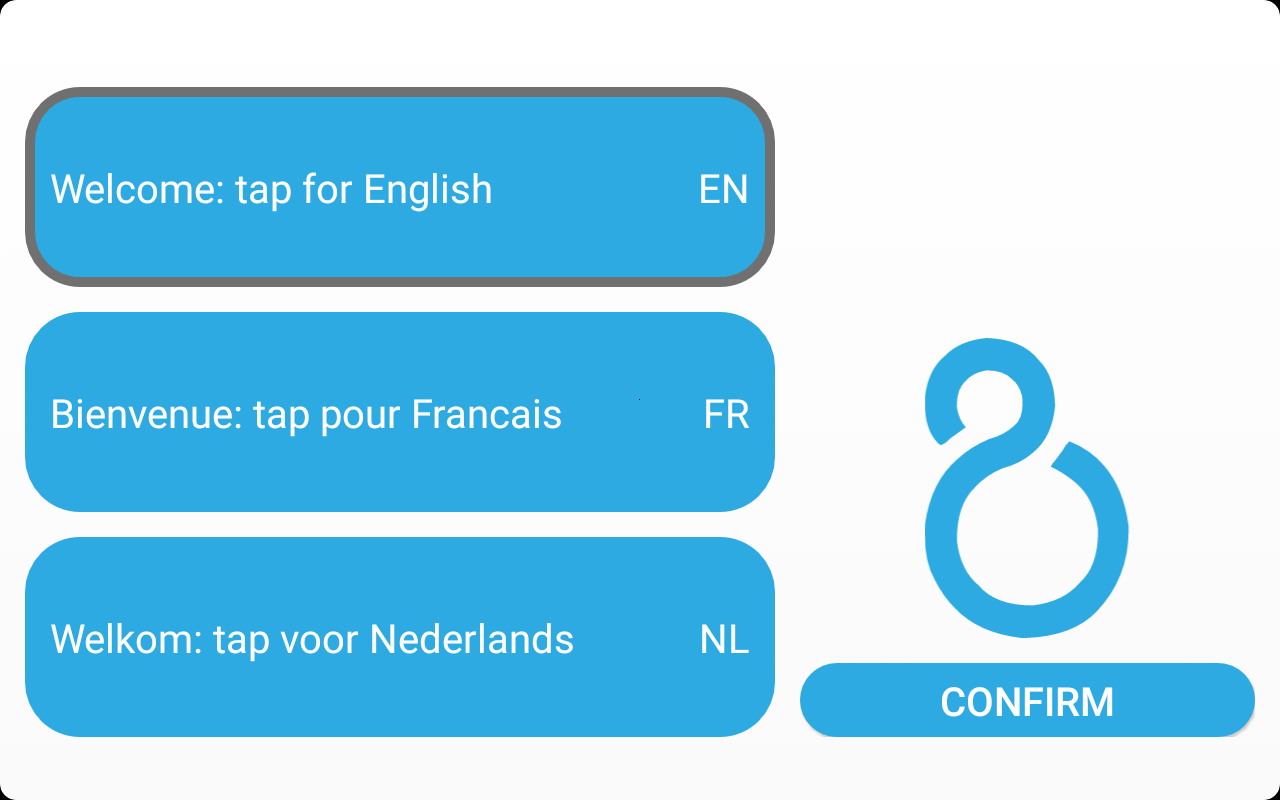
This language will be used for:
-
The remaining setup-display (display-language)
-
The language James will listen to (voice-commands)
-
The default language when rebooting the robot (initial microphone configuration and display)
-
The subsequent default-language for starting kiosks and/or voice-commands (These options can be changed later in the settings)
Configuring the WiFi
The next step is to configure the WiFi. Tap the name of the preferred network, enter the password and tap the button Connect.
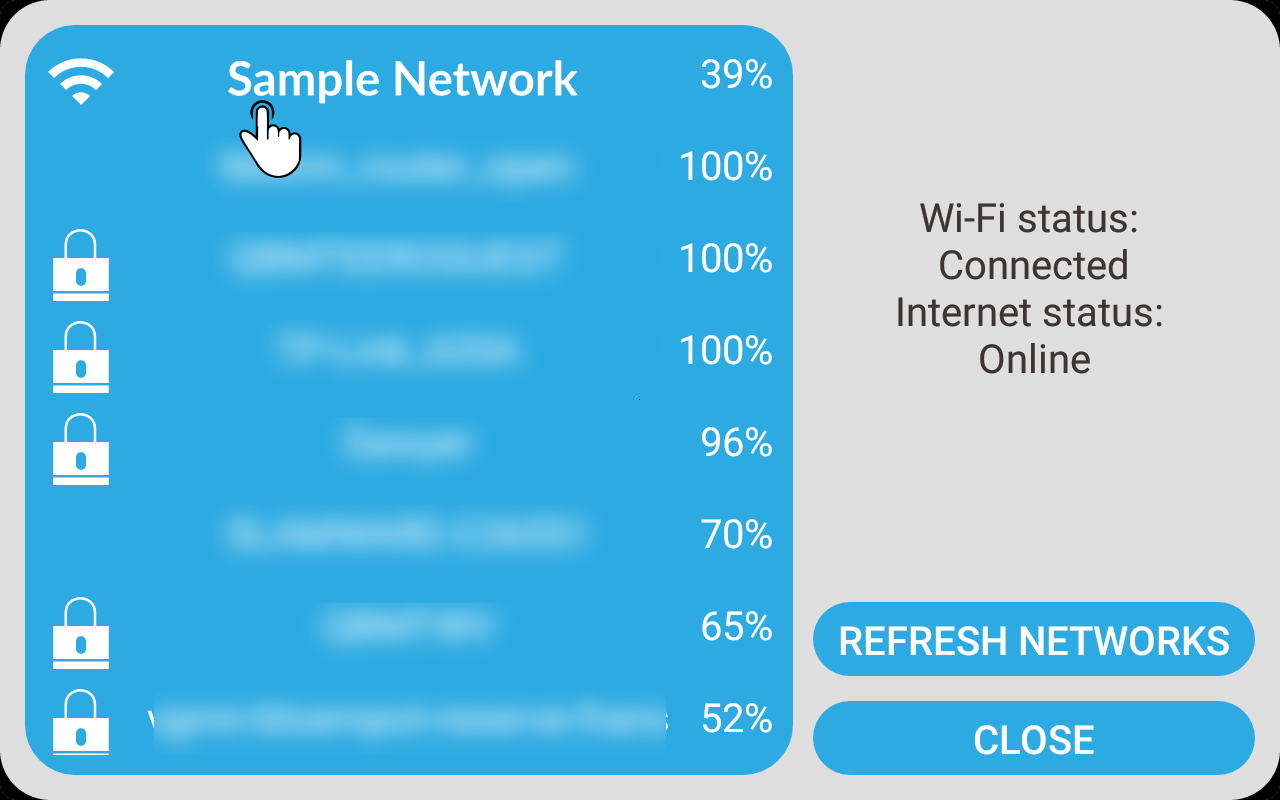
| When re-running the initial setup, the wifi information doesn’t need to be entered if the network is known. |
Connecting to the robot
Finally, a page containing the information to connect to the robot is shown.
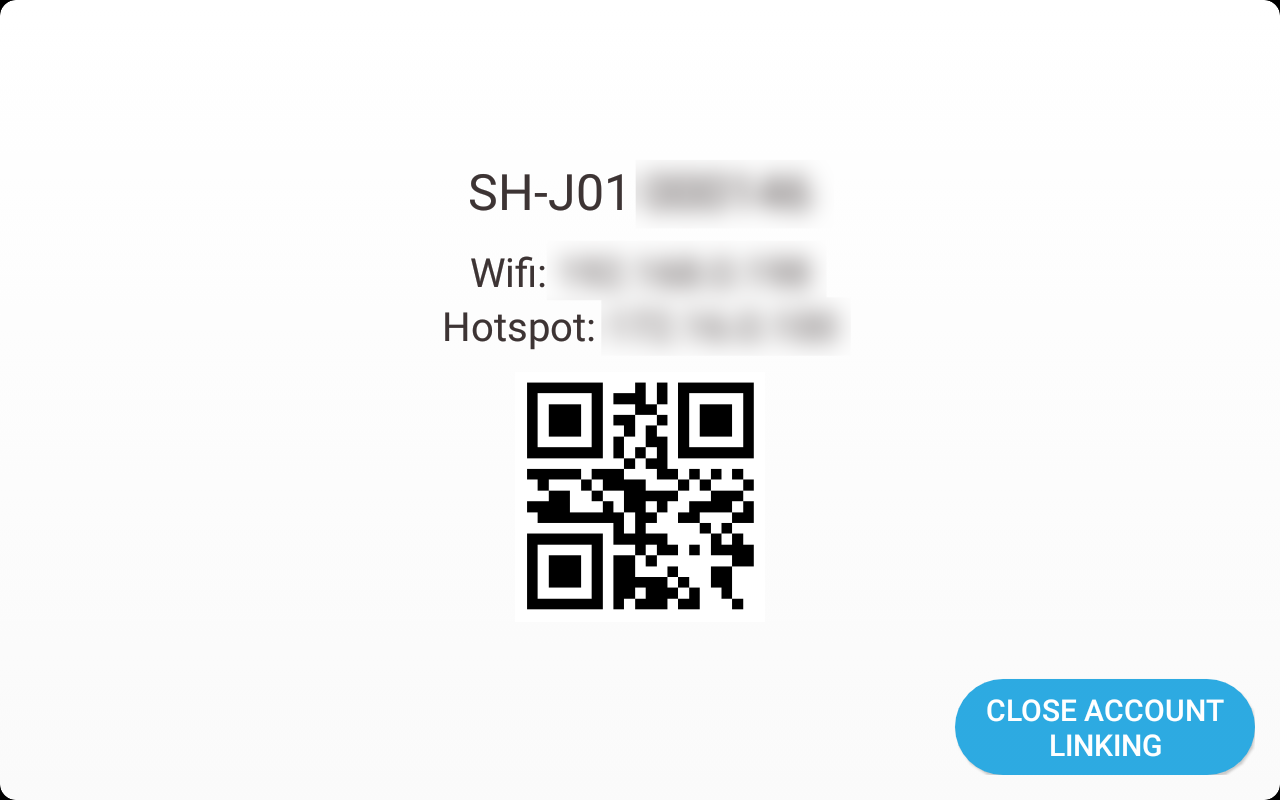
Scan the QR-code shown in ZBOS Control to connect to the robot. For more information, see the manual for ZBOS Control (Manual ZBOS Control)