Planting the seeds
This chapter explains how to plant the seeds that come with Billy-Billy.
It is advisable to start planting with Billy-Billy turned off.
Step 1 – Removing the inner pot from Billy-Billy
To make it easier to fill the inner pot with the soil and seeds, or to avoid damaging Billy-Billy during this step, it is recommended to remove the inner pot before adding the soil.

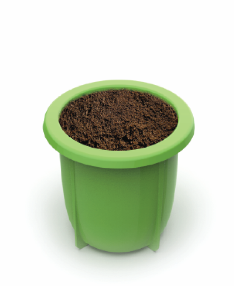
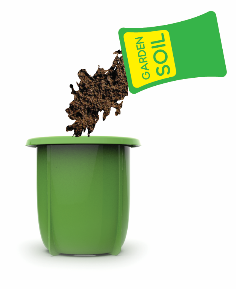
Step 2 – Open the bag of soil and fill the pot
Fill the inner pot with the supplied soil without pressing it.

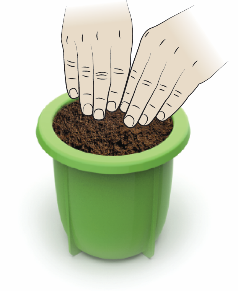
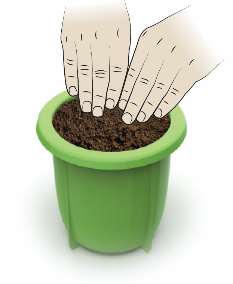
Step 3 – Pressing the soil
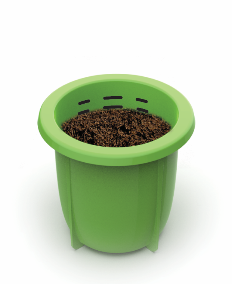
After the pot has been filled with the soil, it needs to be compressed a little. 2 markers have been provided to indicate how deep the soil should be pressed.
The soil needs to be pressed down until the bottom mark is visible.
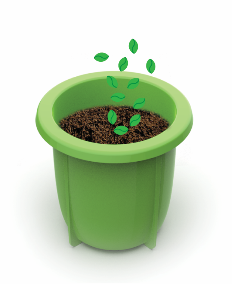
Step 4 – Distributing the seeds
Once the soil has been pressed, the seeds can be distributed on top of the soil bed.
Step 5 – Adding some more soil
By filling up the inner pot up to the edge, the seeds will be covered.
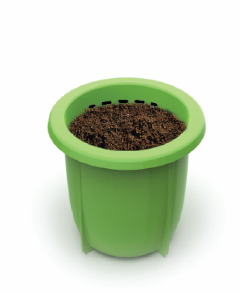
Step 6 – Pressing the soil to the top marker
Take care when pressing the soil that the top layer is not too dense, so air can still reach the seeds. Do not repeat Step 5-6 if there still is some soil left.
Step 7 – Inserting the inner pot
By inserting the inner pot back in Billy-Billy, the status of the plant can now be monitored. You may now switch Billy-Billy on if you haven’t done so already.