Connectivity
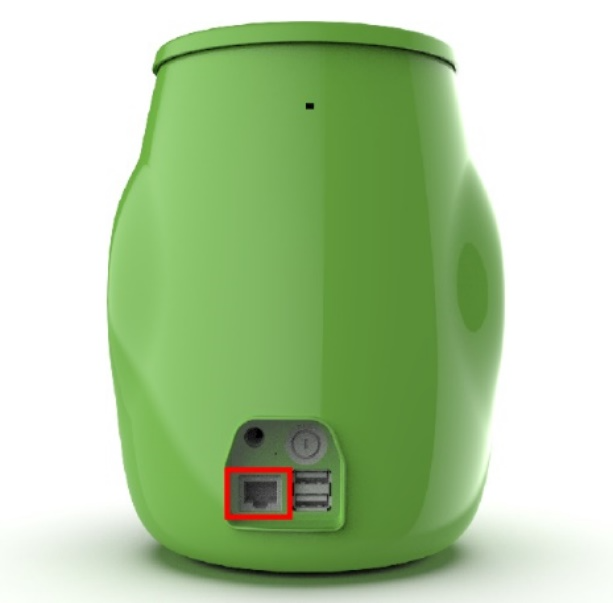
Billy-Billy can be connected to your local network, and the internet either by Cable (wired connection) or Wi-Fi (wireless connection).
Under normal circumstances, either of these options will work fine. However, in areas with bad Wi-Fi coverage, it is recommended to connect by cable.
Connecting to a Wi-Fi network
As Billy-Billy has no keyboard or camera, the Wi-Fi credentials need to be shared via the supplied USB drive.
Using the ZBOS Control website, a configuration file with Wi-Fi credentials can be created, either during the initial on-boarding (following the on-screen instructions ) or later on.
The following steps explain how to create a Wi-Fi network config file from Control:
-
Press the top-right configuration menu and select the option Wi-Fi Setup
-
In the Wi-Fi-configuration dialog, enter the network name (SSID) and password.
-
Click the download button at the bottom of the dialog, a wifi.conf file will be downloaded.
-
Place the wifi.conf file on a FAT-formatted USB drive. A suitable USB drive comes delivered with Billy-Billy.
-
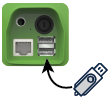
Place the USB drive in one of the USB slots on the back of Billy-Billy. By default, the USB-slot has a rubber protector in it, which needs to be removed first.

-
There are 2 ways to connect to Wi-Fi:
-
Power on Billy-Billy with the USB drive inserted, the connection will happen automatically.
-
With Billy-Billy already powered on, say the wake-word ("Billy-Billy") followed by the command "Connect to Wi-Fi".
-
-
You should now be connected to Wi-Fi.
Creating a Wi-Fi config file manually (advanced)
In case you can not use ZBOS Control, the Wi-Fi config file is just a standard plain text file containing the configuration in json format. You can easily create a file with the following contents:
{
	"wifi": {
		"ssid": "network name",
		"psk": "network password"
	}
}
Replace the network name and password with the correct values and save the file as wifi.conf and install as explained above.

