Getting started
This section describes how to start using James straight out-of-the-box.
| The original box is needed should the robot need maintenance. |
Assembly
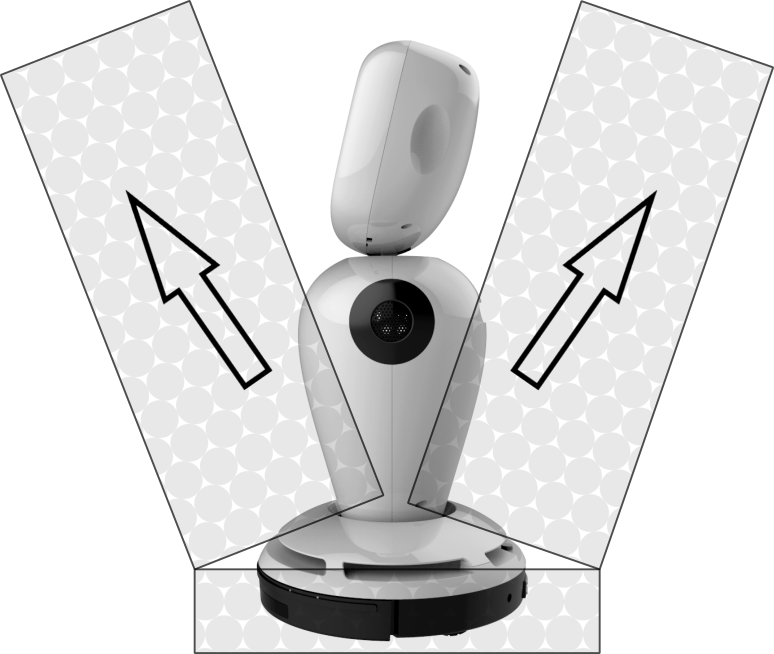
Lift the cover
Lift the outer cardboard cover up so the styrofoam protection is shown.
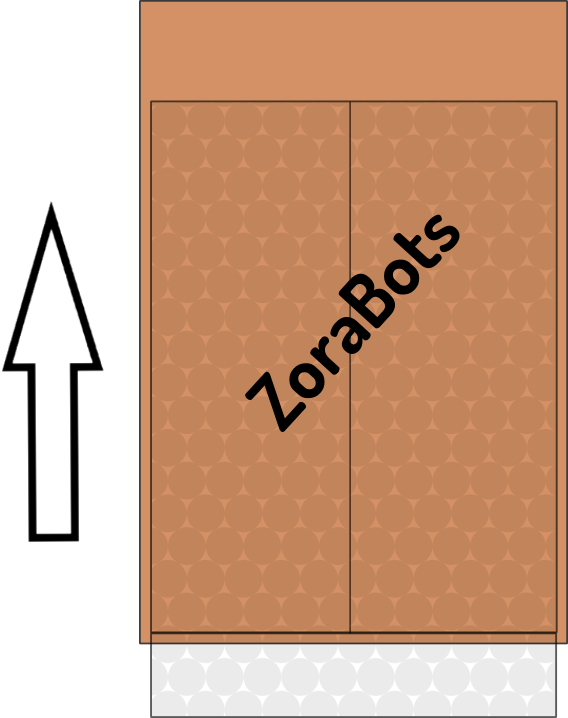
Place it to the side before continuing.
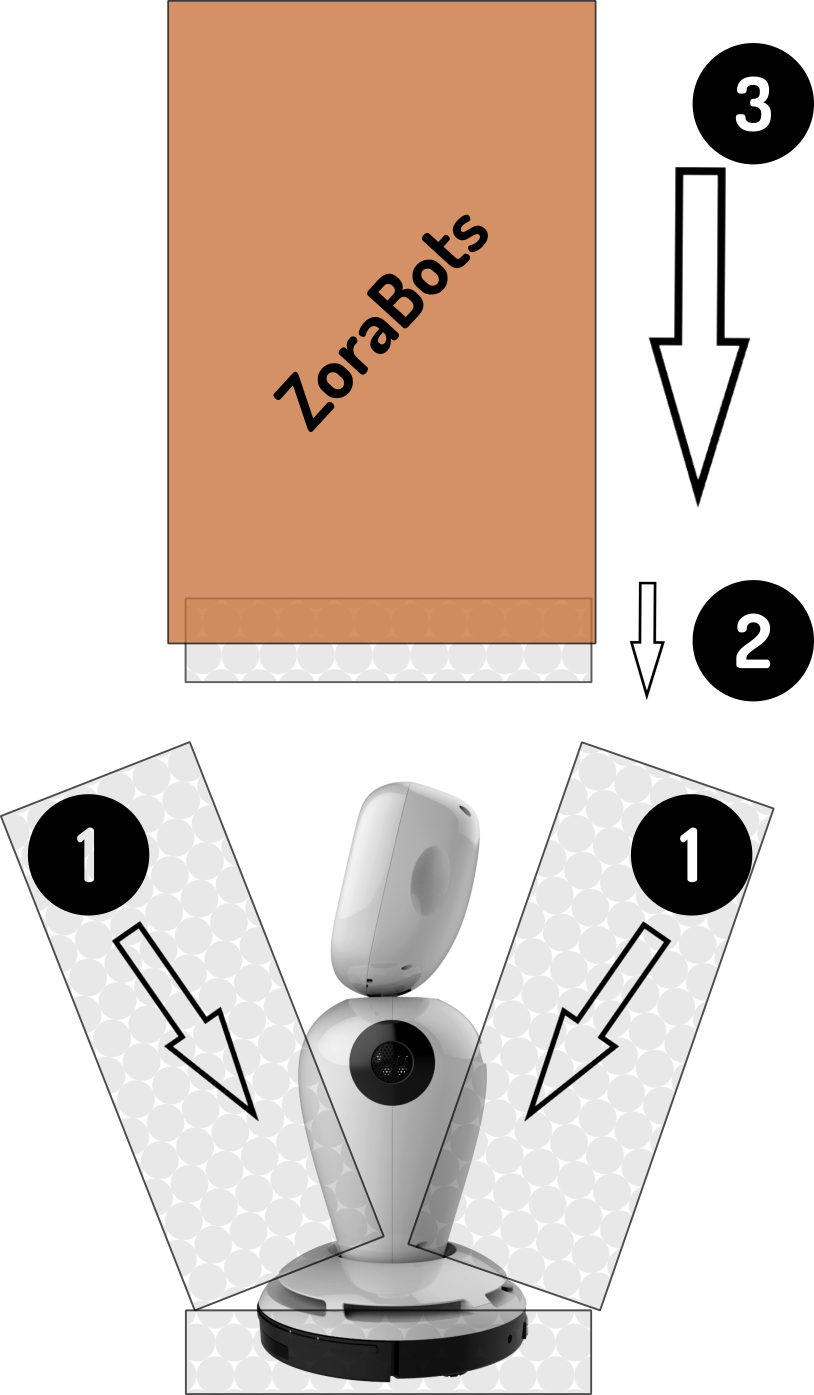
Remove the accessories
Remove the charging station (1), power-cable (2) and quick guide (3) from the top of the box.
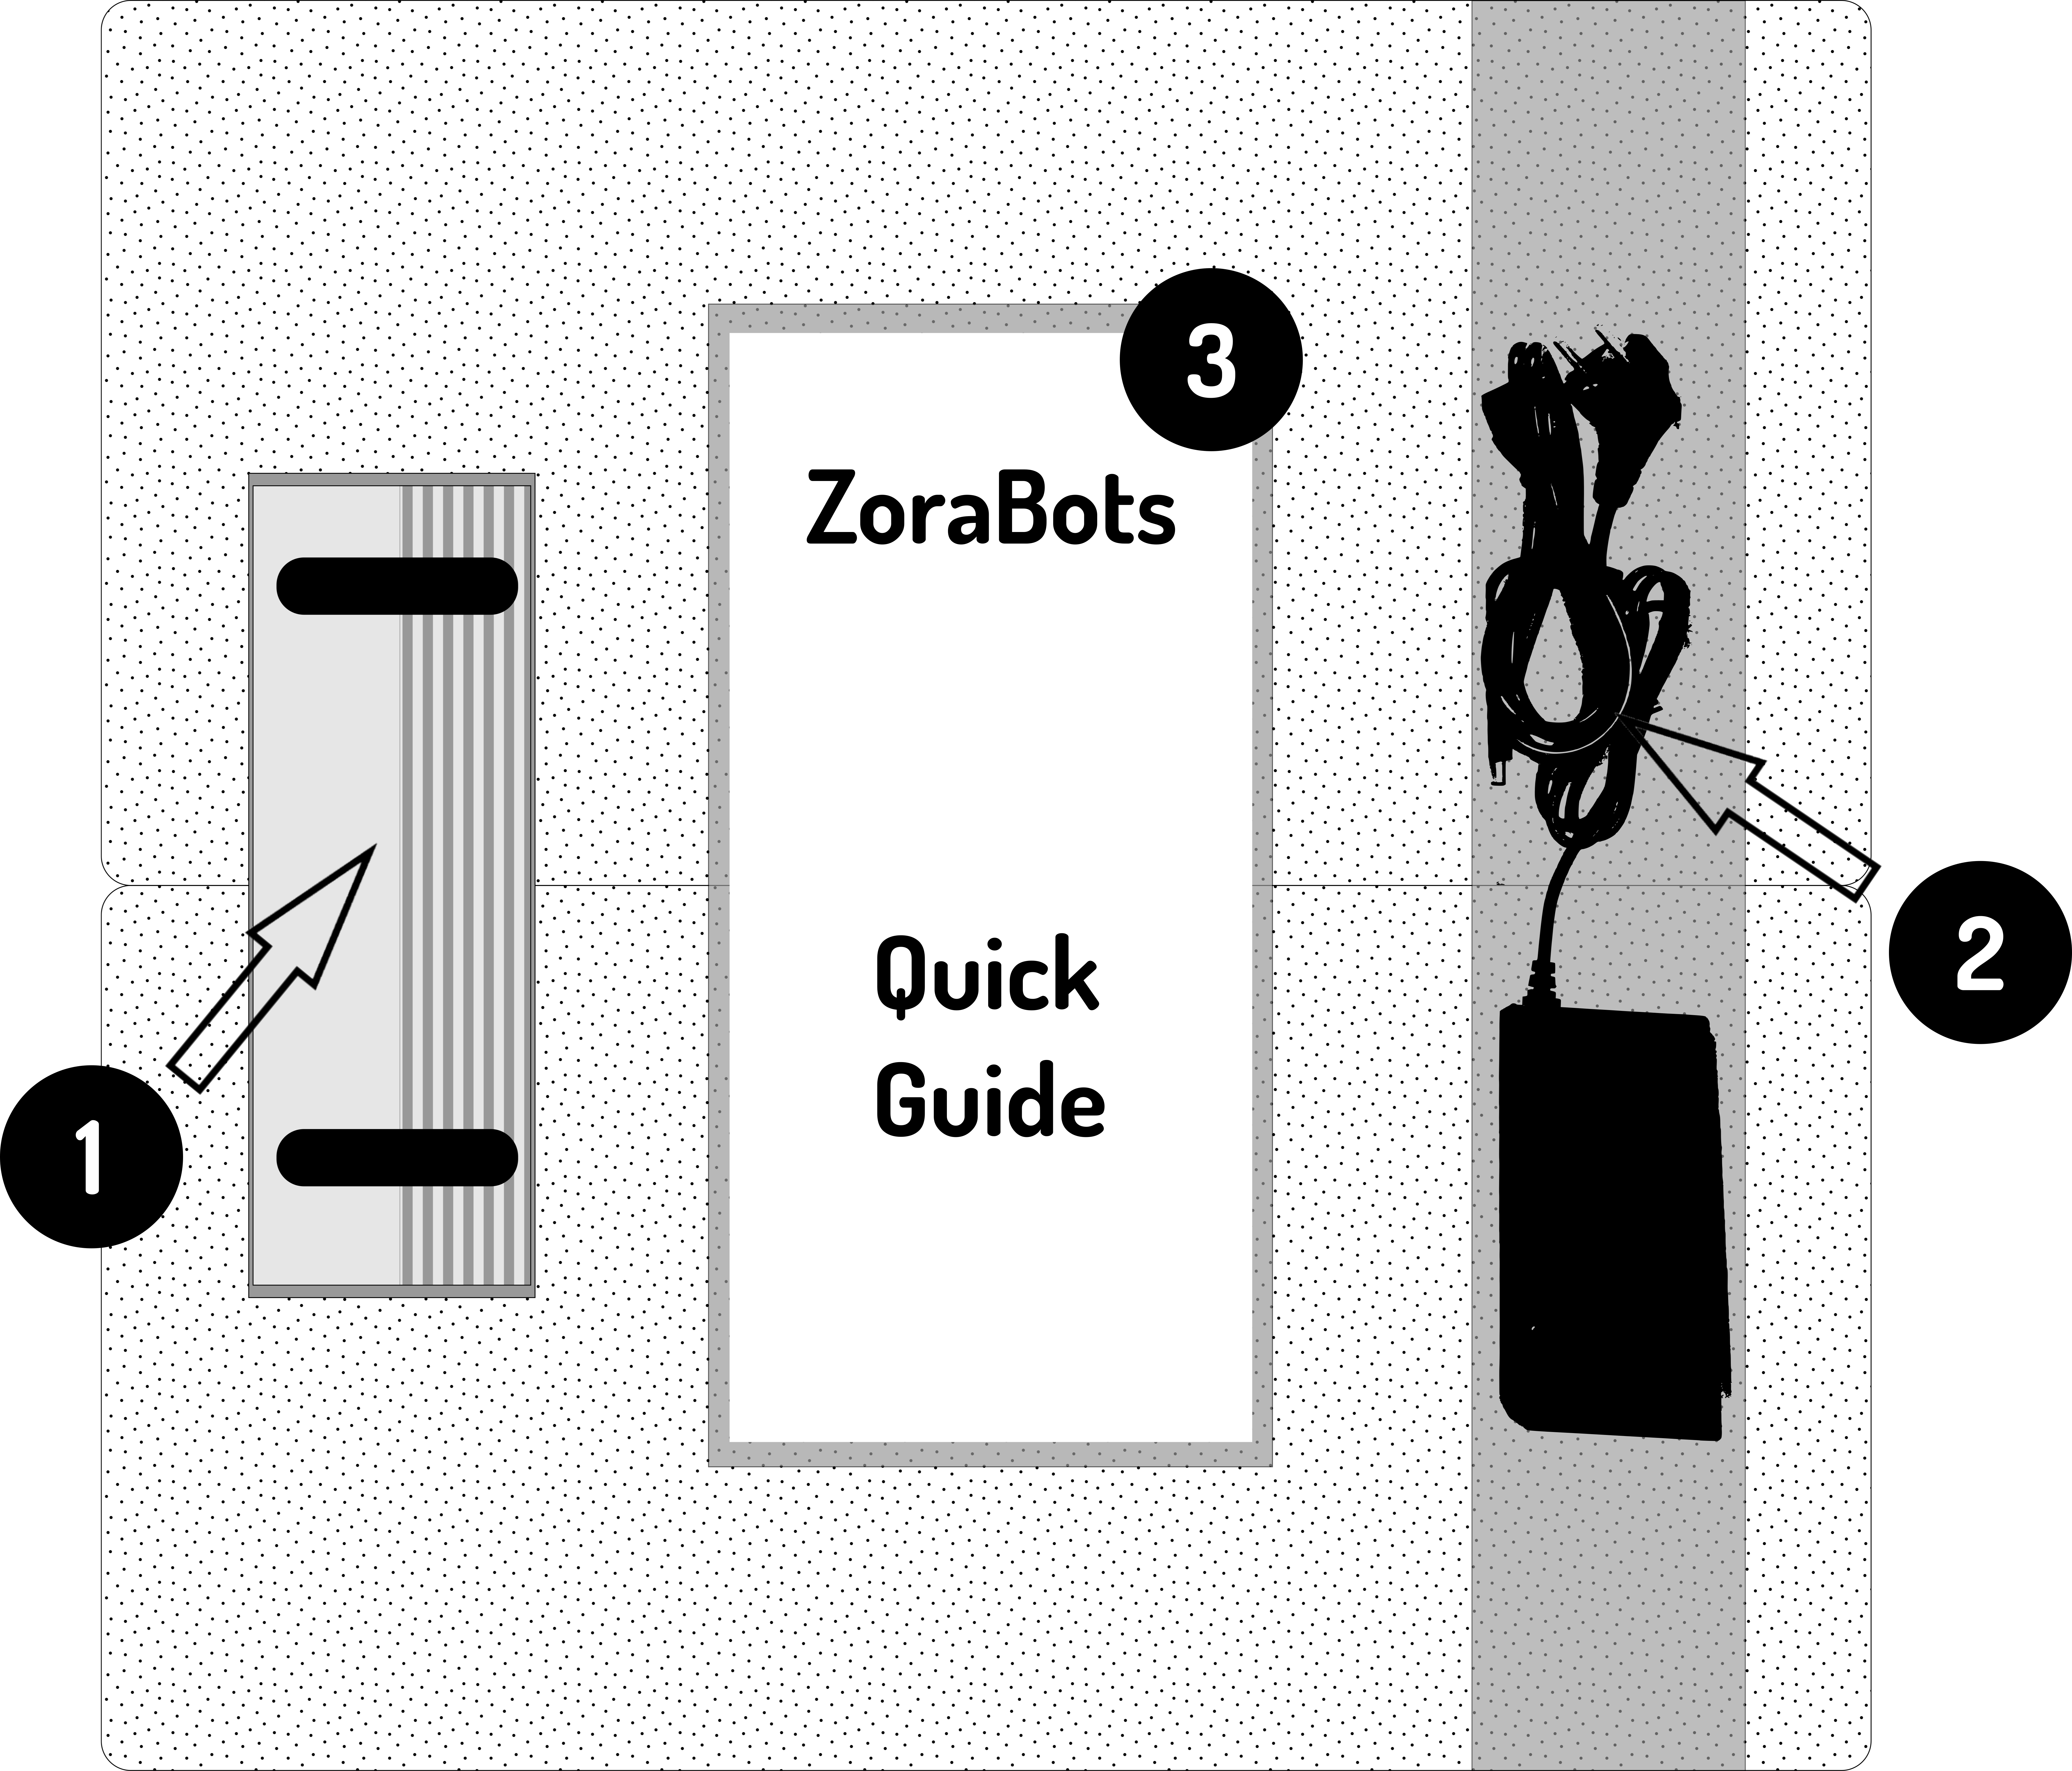
Put them aside for now.

Charging James
Once removed from its protective cover, the robot needs to be fully charged before it’s first use. It is recommended to use the charging station.
|
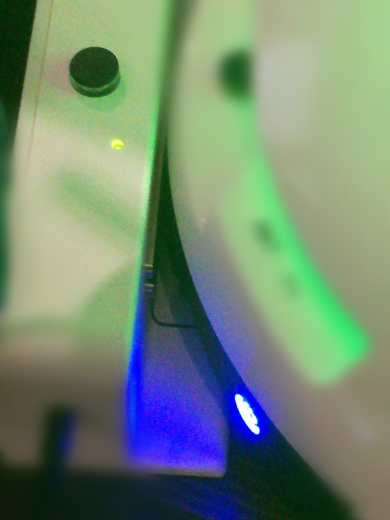
The following precautions should be taken into account when using the charging station:
The 'eye' on top of the charging station needs to be spotted by the robot to find the charging station. In case the socket is on the other side of the charging station, make sure the cable is behind the sensor on top of the charging station. |
Placing the charging station
Before placing the charging station, ensure the intended location meets the following requirements:

-
Plenty of clear space for the robot to safely dock with the charging station
-
A flat floor, so the robot can dock with the charging station
-
A flat back-surface for the charging station to lean against (no tilting)
For example:

Once the location has been validated, the charging station can be placed.

Charging James on the charging station
For James to always have its correct position on the loaded map, the robot should always be started while on its charging station.
Move the robot by hand when it is still turned off so the connectors at the back of the robot connect to the connectors on the charging station.


Recharging James
You can tell James to go to the charging station, press "Go to charging station" on the battery icon in Kiosk, or use ZBOS Control to go to a charging station.
Alternatively, if you want to manually move James to the charging station:
-
Turn the robot off
-
Connect the robot to the charging station
-
Turn the robot back on
This is to ensure that James does not lose its current position on the map.
Initial setup
Once the robot has been connected to the charging station and is charging, the initial setup can be performed. Push the power-button to turn James on.
Once the robot has been turned on for the first time, the initial setup will start.
Language Selection
The first step is to select the language the robot will use. By default English, French and Dutch are available.
This language will be used for:
-
The remaining setup-display (display-language)
-
The language James will listen to (voice-commands)
-
The default language when rebooting the robot (initial microphone configuration and display)
-
The subsequent default-language for starting kiosks and/or voice-commands (These options can be changed later in the settings).
Microphone Calibration
The next step is to calibrate the microphone. The microphone needs to be calibrated every time the robot is booted.
Calibrate the microphone by following the instructions shown on the screen.